Recently I encountered two panoramic photo situations in which the software that I am accustomed to using for stitching panoramas failed. It gave me the impetus to try Photoshop for panoramas, with mixed results explained below. And the biggest surprise of my recent panorama efforts has been with, well, you’ll have to read to the end to find out unless my clever post title gave it away. Fair warning: if the entire notion of stitching and blending multiple images into a long, high resolution panorama makes your shutter glaze over, click away now!
Part 1 of 3: Failure then Success
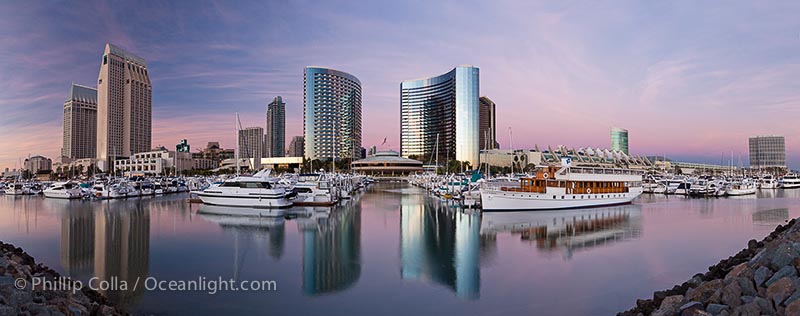
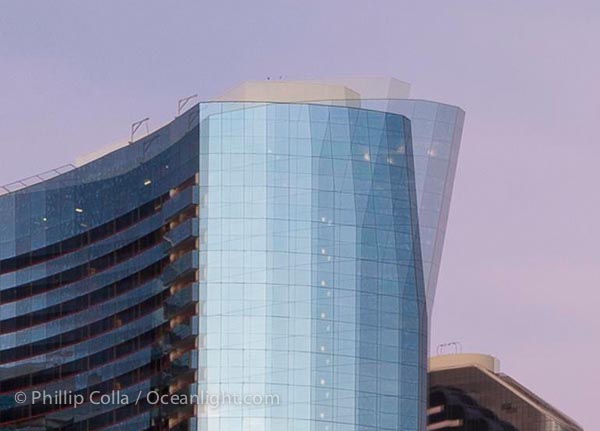
This above panoramic photo of San Diego’s Embarcadero Marina, including the Marriott Hotel, Manchester Grand Hyatt Hotel, Roy’s Restaurant and the San Diego Convention Center, is a composite of three original frames. I used Panorama Factory to stitch an initial version, and was disappointed to see some severe distortion artifacts on many of the buildings. I have encountered these occasionally in the past, and usually solved the problem by lessening or increasing the number of control points, or changing the perspective (spherical/cylindrical), or resorting to “full automatic stitching”. I think each of these alternatives changes the way in which Panorama Factory is constrained to correct for distortion, tilt and roll. By trying a few different alternatives, sometimes Panorama Factory is freed of enough mathematical constraints that the distortion artifacts go away. However, in this image the artifacts appeared, strongly, in all versions I made with Panorama Factory. For example, the following detail is from the top right corner of the Marriott Hotel, and shows ghosting (which is easily fixed in post by modifying the layer masks that Panorama Factory provides). The ghosting actually serves to illustrate the point that distortion is observed in both layers that overlap at this point. In other words, simply resorting to one layer or the other does not solve the distortion problem (although it would solve the ghosting).
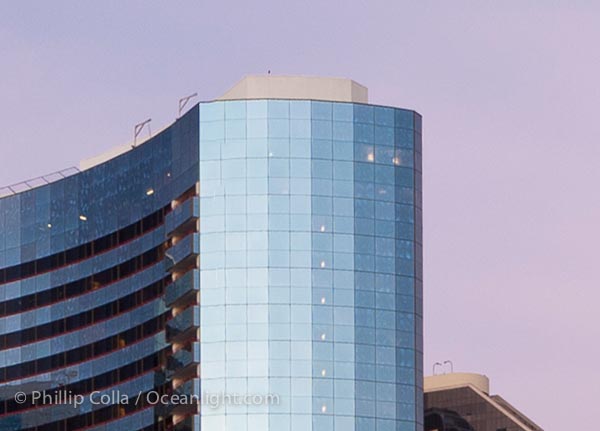
I decided to give the stitching a try in Photoshop PS5’s “image merge”. In the past I did not have much faith in Photoshop’s “image merge”, given that it is nearly a “full auto” process and there is no allowance for the user to input, say, control points to ensure alignment. I’m a control freak, and giving complete control of the stitching to Photoshop did not appeal to me. For example, it does not even permit the user to offer such a basic starting point as defining what order (left to right) the images are to be considered — Photoshop figures this out on its own. So imagine my surprise when Photoshop produced as flawless a panoramic stitch as I have ever seen. On hindsight I should not have been surprised that Adobe, with its vast resources and programming talent, could produce an excellent panoramic stitching engine. Nevertheless, I was floored. I’ve scoured the detail in Photoshop’s version of this panoramic photo and have not found a stitching flaw or noticeable bit of distortion yet. For comparison, the same detail from the Photoshop version of the panoramic photo:
Part 2 of 3: Failure (Boo, Hiss!)
I encountered a second example of panoramic stitching challenges last week when my daughter and I enjoyed the sunset and made photos of Scripps Pier in La Jolla. In this case, both Panorama Factory and Photoshop failed, but in different ways. First, the full panorama looks pretty good at first glance:

There is plenty of wave movement in this composition, and I knew in advance that blending the waves would be near impossible. (I really should have used a 3-stop ND filter and f/22 to blur the water movement as much as possible, lessening the detail and making a pleasing blend more attainable. And next time I’ll do just that!) However, Panorama Factory shows significant distortion on several sections of the pier:
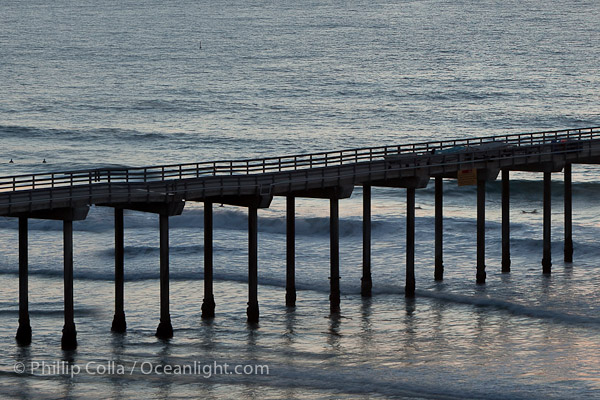
Panorama Factory does produce a layered PSD file complete with blending masks, and I tried to compensate for these distortions in post but was unable to remove them satisfactorily. When the distortions exist they exist in both layers being blended at that point, which makes it impossible to use the layer masks to solve the problem.
On the other hand, Photoshop shows a much better blend of the pier but a more jarring discontinuity in the waves to the left and right of the rightmost set of pier pilings:
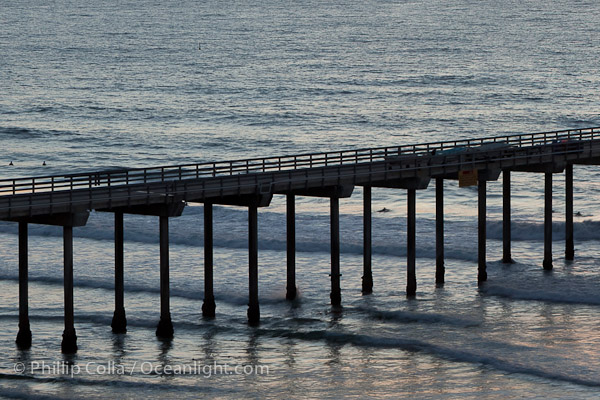
Photoshop’s panorama product does NOT provide a layered PSD with masks, so I am unable to make further improvements to this image. That’s too bad. One of the strongest features of Panorama Factory is its ability to provide a layered PSD with blending masks, since this can be fine-tuned afterward in Photoshop to remove most ghosting artifacts and sometimes address distortion artifacts as well (although not in this case).
Part 3: Success, Unexpected!

Lastly, Sarah was fooling around with my iPhone while I used the “real camera”. She produced the above panorama in about 60 seconds using Autostitch for the iPhone. This just blows me away. For crying out loud, this is a 10-year-old using a phone and a $2.99 app to produce panoramas that would have been difficult for some computers to produce just a decade ago or less! It will be interesting to see what the iPhone and apps like Autostitch can do in coming years. Panorama Factory and Photoshop had better watch their heels.
Here are a few more I shot while running. I stop for about 60 seconds to shoot 3-6 photos, then Autostitch takes 10-20 seconds to blend them into a panorama, trim the overage off and upload a reduced-size version to Facebook where my family can see them long before I am back home and near a computer. I don’t have my glasses on, can’t see for the sweat in my eyes, and my hands are shaking. And still they often turn out pretty darn good. The full res version can always be accessed via iPhoto the next time the phone is synced to iTunes. These thumbnails link through to the unretouched full res versions if you are interested in seeing how much ghosting or exposure flaws there are in the final versions. Amazing!


